 1500 Medical Center Parkway Murfreesboro, TN 37129
 info@prymeexteriors.com
Introduction: The Growing Importance of Pre-Storm Documentation
As storm seasons become increasingly unpredictable and severe, property owners face a landscape where proactive risk management is the only safeguard against significant financial loss. The question of What Property Owners Should Document Before Storm Season Begins has evolved from a simple maintenance checklist into a comprehensive legal and financial strategy. In the roofing and restoration industry, we see a stark difference in claim outcomes between owners who possess a detailed pre-storm baseline and those who rely on memory or outdated records. With insurance premiums rising and carriers tightening their requirements for proof of loss, your documentation is often as valuable as the physical repairs themselves. This deep-dive guide explores the multi-faceted approach required to protect your property, focusing on the exterior envelope, structural integrity, and the vital role of professional verification.
The Roof: Your First Line of Defense
The roof is the most vulnerable component of any structure during a storm. Whether facing high-velocity winds, heavy snow loads, or large-diameter hail, the roof sustains the brunt of the atmospheric impact. To ensure you are fully protected, you must document the current state of every roofing component. This includes the shingles or tiles, the flashing, the ventilation systems, and the gutters.
Shingle and Surface Condition
When documenting your roof, focus on the granular levels of detail. For asphalt shingles, look for signs of existing ‘blistering’ or ‘granule loss’ that might be confused with hail damage later. High-resolution photographs should be taken from multiple angles, including close-ups of the north, south, east, and west slopes. This provides a clear baseline that proves the absence of impact marks prior to a storm. If you have a metal roof, document the absence of dents or scratches. For tile roofs, photograph any existing cracked or slipped tiles. This level of detail prevents insurance adjusters from claiming that post-storm damage was ‘pre-existing wear and tear.’
Flashing, Valleys, and Penetrations
Water intrusion often begins at the points where the roof meets a vertical surface, such as a chimney or a dormer. Document the condition of the flashing. Is it rusted? Is the sealant cracked? Photograph the valleys—the areas where two roof planes meet—as these are high-flow water channels. Ensure you have clear images of the boots around plumbing vents and the seals around skylights. If these areas are documented as being in good condition before the season, any leaks that occur after a storm can be definitively linked to the weather event rather than poor maintenance.
The Exterior Envelope: Siding, Windows, and Doors
While the roof is critical, the vertical surfaces of your property are equally susceptible to wind-blown debris and hail. Documenting the exterior envelope is a key part of What Property Owners Should Document Before Storm Season Begins. Siding, particularly vinyl or aluminum, can be easily dented or cracked. Take ‘elevation’ photos—wide shots of each side of the building—and then move in for detail shots of areas near ground level where debris is most likely to hit.
Windows and Glazing
Windows are a significant expense in any restoration project. Document the integrity of the glass, the frames, and the caulking. If you have storm shutters, document their functionality. Take photos of the window screens as well; hail often shreds screens even when the glass remains intact. Having proof that your screens were perfect before the storm ensures they are included in any comprehensive insurance settlement.
Doors and Perimeter Seals
Garage doors are often overlooked but are a common point of failure during high-wind events. Document the tracks, the panels, and the weather stripping. For entry doors, ensure you have evidence that the thresholds and seals are intact. This documentation is vital if you later experience interior water damage due to ‘wind-driven rain,’ a specific category in many insurance policies that requires proof of a compromised exterior seal.
Interior Baselines and Attic Inspections
Documentation should not stop at the exterior. The interior of your property often tells the story of a storm’s impact before the exterior damage is even visible. Start in the attic. This is the ‘canary in the coal mine’ for roofing issues. Photograph the underside of the roof decking. Look for water stains, mold, or light peeking through. If the decking is clean and dry before storm season, any staining found after a storm is indisputable evidence of a recent leak.
Ceilings and Walls
Walk through every room and photograph the ceilings and the corners of walls. Existing settlement cracks should be noted so they aren’t confused with structural shifts caused by extreme wind loads. High-value interior finishes, such as hardwood floors or custom cabinetry, should also be documented. In the event of a major roof failure, interior water damage can be extensive, and having ‘before’ photos of your interior’s pristine condition will expedite the contents and dwelling portion of an insurance claim.
Professional Documentation: The Expert Advantage
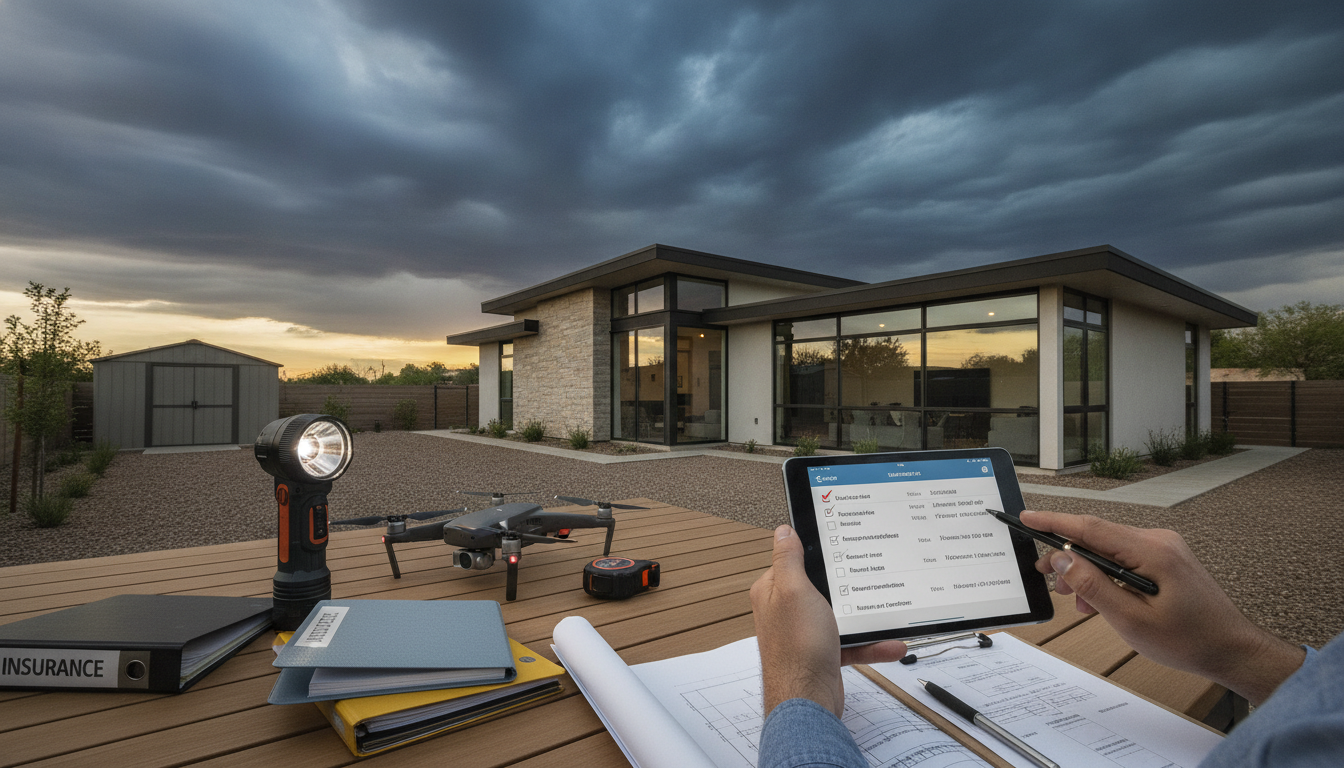
While property owner documentation is helpful, a professional inspection report carries significantly more weight with insurance carriers. A certified roofing contractor can provide a ‘Roof Health Report’ that includes moisture mapping, drone photography, and a professional assessment of the remaining useful life of the materials. This document serves as an expert witness in your pocket. It moves the conversation from ‘homeowner opinion’ to ‘professional fact.’
Property Documentation Checklist
| Component | Documentation Method | Key Focus Areas |
|---|---|---|
| Main Roof Slopes | High-Res Photos / Drone | Granule loss, shingle lifting, previous repairs |
| Roof Penetrations | Close-up Photography | Chimney flashing, vent boots, skylight seals |
| Gutters & Downspouts | Video / Photo | Clear flow, secure attachments, no sagging |
| Siding & Trim | Elevation Photos | Dents, cracks, secure fastening, color consistency |
| Attic Interior | Flash Photography | Dry decking, insulation levels, no water stains |
| Windows & Doors | Detail Photos | Glass integrity, screen condition, weather stripping |
The Role of Technology in Documentation
In the modern era, property owners have access to tools that were once reserved for professionals. Use your smartphone to create a video walkthrough of the entire property. Narrate the video, noting the date and the current weather conditions. Cloud storage is your best friend; ensure that all photos and videos are backed up to a secure server. If a storm destroys your physical devices, your documentation remains safe. Additionally, consider using a ‘date-stamp’ app that embeds the GPS coordinates and the exact time into the metadata of every photo. This creates an unalterable record that is extremely difficult for insurance companies to dispute.
Understanding the Insurance Impact: ACV vs. RCV
The primary reason to be meticulous about What Property Owners Should Document Before Storm Season Begins is the financial structure of insurance policies. Most policies are either Actual Cash Value (ACV) or Replacement Cost Value (RCV). If you have an RCV policy, the insurer owes you the cost to replace the damaged item with a new one. However, they will often try to apply ‘depreciation’ based on the perceived age and condition of the item before the storm. Detailed documentation proving that your 10-year-old roof was in ‘like-new’ condition can help you argue for a lower depreciation rate, putting more money back in your pocket for the restoration.
Frequently Asked Questions
1. How often should I update my property documentation?
At a minimum, you should update your documentation once a year, ideally 30 days before the peak of your local storm season. Additionally, update your records immediately following any major repair or renovation.
2. Does documentation really help if I have a high deductible?
Yes. Even if the damage is close to your deductible, documentation helps ensure that the full scope of damage is recognized. This can prevent you from paying out-of-pocket for ‘hidden’ damage that the adjuster might otherwise overlook.
3. What is the most important photo to take?
The ‘overview’ shot of the entire roof from the ground is crucial, but the most important for claims is the close-up of the flashing and valleys, as these are the most common points of failure and dispute.
4. Should I document my trees and landscaping?
Absolutely. Falling trees are a major cause of structural damage. Documenting that your trees were healthy and well-maintained can help if a neighbor’s tree falls on your property, or if your tree falls and you need to prove it wasn’t a ‘dead tree’ liability issue.
5. Can I use a drone for my documentation?
Drones are excellent for capturing high-angle shots of the roof that are difficult to get from a ladder. Just ensure you are following local FAA regulations regarding residential drone use. Professional contractors often include drone surveys in their pre-storm inspections.
Conclusion
Preparation is the hallmark of a responsible property owner. By understanding What Property Owners Should Document Before Storm Season Begins, you shift the power dynamic from the insurance company back to yourself. Documentation provides the evidence needed to ensure that your property is restored to its pre-storm condition without unnecessary financial strain. Remember, the best time to document your property was yesterday; the second best time is today, before the first clouds of the season appear on the horizon. For the highest level of protection, supplement your personal records with a professional inspection from a trusted roofing expert to ensure no detail is left to chance.